

While functioning with the network animator in network simulator 2, we have to follow all the required information and they are highlighted in this article.
Step: 1 Download and Install Nam for Ns2
In general, the nam is defined as the Tcl / Tk based animation tool in network simulator 2 and that is deployed to visualize the Ns simulations and real world packet trace data. In addition, we have to download the Nam packages (nam_1.15-10_i386.deb) freely through the below mentioned URL.
https://drive.google.com/file/d/0B4nUSbTYSK4TclRYODFvbWgxeWM/view
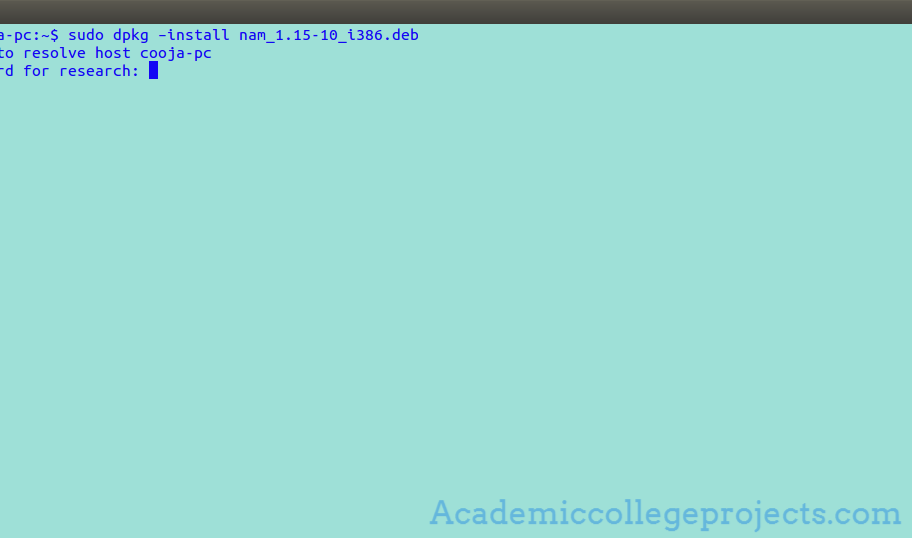
To install Nam for network simulator 2 in Ubuntu, we have to implement the below mentioned commands in the terminal window.
sudo dpkg –install nam_1.15-10_i386.deb
Step: 2 Start Nam for Ns2
To start the Nam in network simulator in Ubuntu, we have to execute the commands in terminal window that have been highlighted in the following.
sudo ./nam

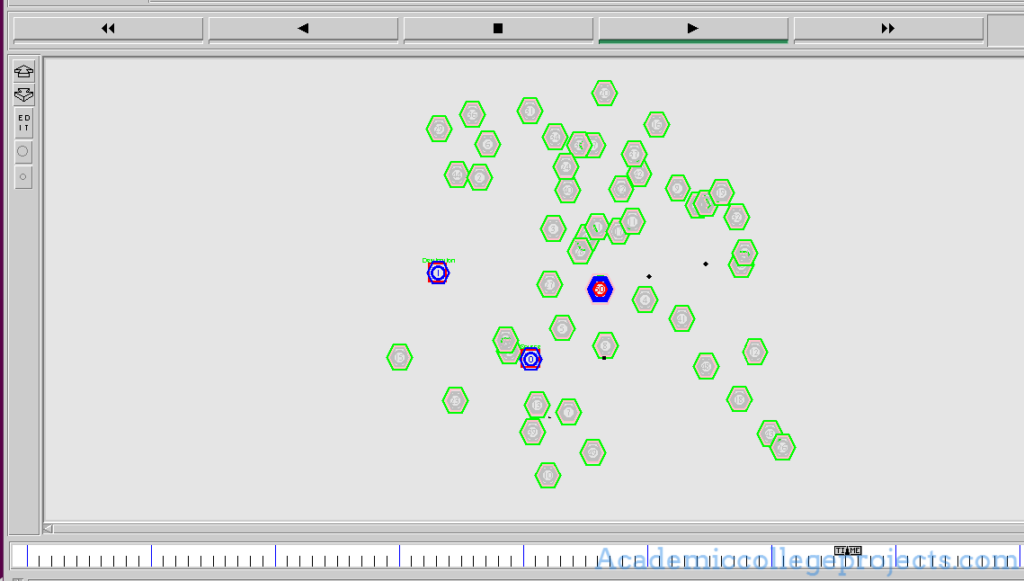
Following that, we have to select the auto generated Ns2 trace file which is stored with the file extension .nam. For your ease, we have highlighted the acquired animation result based on Ns2 trace file.
The research scholars can call to clarify their doubts based on the execution of Nam in network simulator 2.